Four Common Errors To Avoid When Performing a Pull-off Test
- November 18th, 2022
- Category: Equipment Guides

Four Common Errors To Avoid When Performing a Pull-off Test
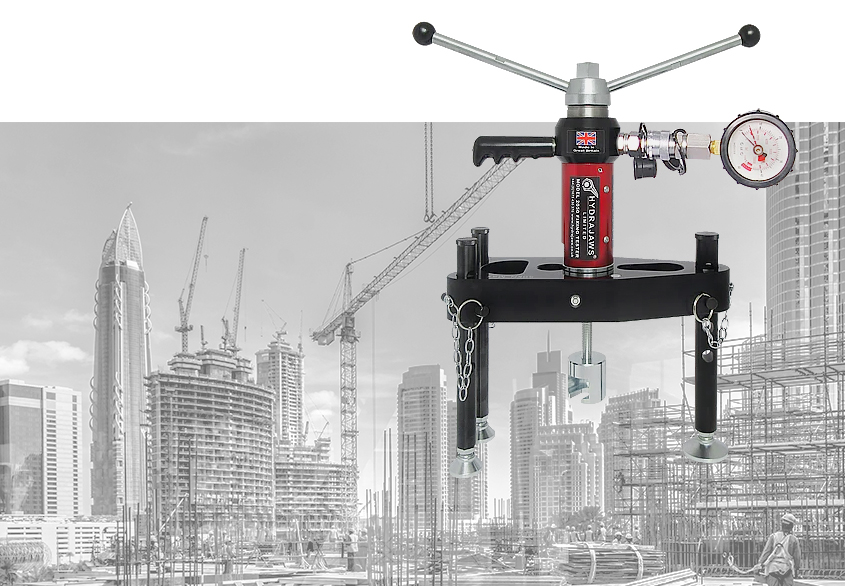
Pull-off testing using Hydrajaws equipment is easy, straightforward and accurate when done correctly. In this article we have identified four common mistakes, which may affect test results, as well as some methods to use to avoid these mistakes.
1. Incorrect use of the analog gauge

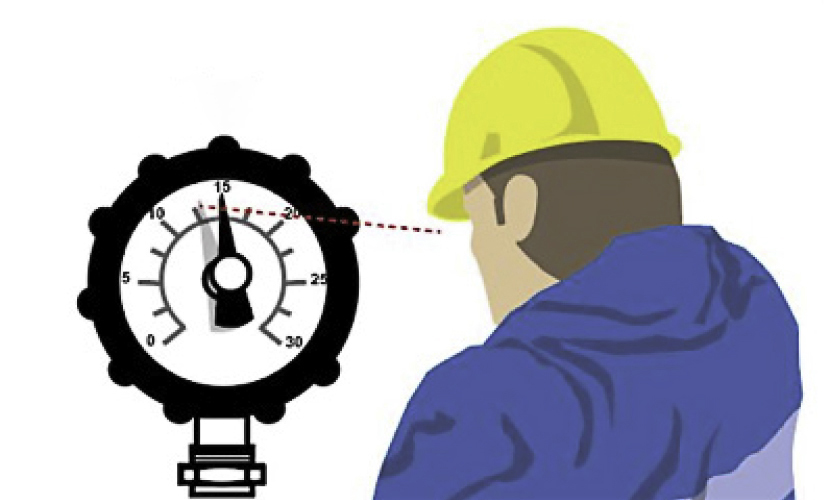
There are two main errors associated with using an analog gauge. The first is the incorrect use of the maximum load indicator (sometimes referred to as the drag needle). This should always be set to zero before any winding of the pull tester takes place. This will ensure that the level of the maximum load achieved will be indicated should the fixing fail before the desired load level is achieved. The second is parallax error, which produces an inaccurate reading due to the readers’ eye being positioned at an angle to the gauge’s measurement markings. This error should not be overlooked, as the difference in readings could be the difference between the pass or fail of a test. It is worth noting that both of these errors don’t occur when using a digital gauge and the Bluetooth Digital System, which accurately records and produces a graph to show the maximum load achieved.
2. Incorrect positioning of the load bridge on brick or block work.
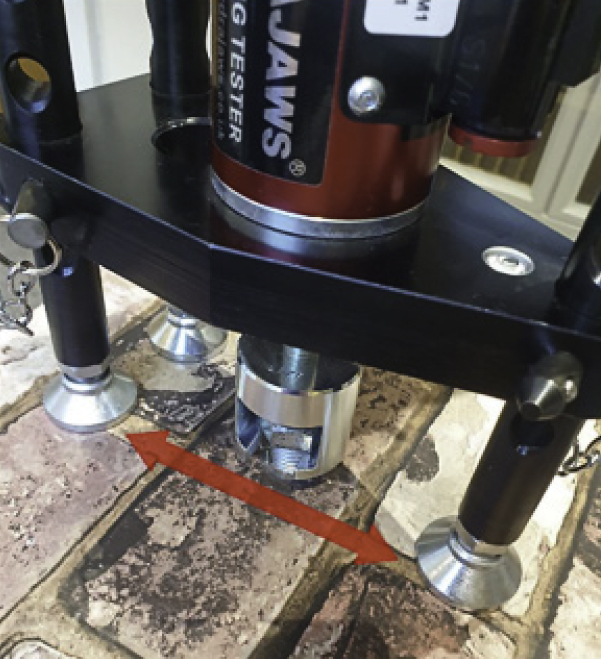
When the fixing to be tested is located in brick or block work, make sure not to position the load bridge feet of the pull tester on the same brick or block as the fixing being tested. Instead the load bridge feet should be positioned on the surrounding bricks that don’t have the fixing to be tested in them.

3. Not understanding when ‘proof testing’ and ‘test to failure’ are appropriate
The vast majority of pull testing is proof testing. This involves loading an anchor up to an appropriate level for an appropriate amount of time. This is designed to give all stakeholders greater confidence that the anchor chosen will hold the load required in the particular substrate. It is important that a suitable holding time is used. This is normally between 30 seconds and 3 minutes, depending on the application. “Test to failure” is pulling an anchor until there is either a failure, or the load limit of the pull test machine reaches its maximum rated load. As the name suggests, testing to failure is likely to cause damage to the substrate, which in many occasions will need repairing, which can be costly, both in time and money. ‘Test to failure’ should only be considered when there is no manufacturer data on the anchor being tested and the substrate in which the anchor is being used.
4. Not testing to the appropriate load for the anchor and/or substrate and/or application.
The importance of researching the anchor, substrate and application before any pull testing takes place cannot be stressed enough. Prior specification information ensures that the relevant pull test regimen is chosen. It is important to note that when proof testing to a known safety factor over the calculated application load, the design resistance of the anchor must not be exceeded. Ensure you are not making these mistakes during a job and your results will be accurate and safe.
For more information on the testing requirements of anchors is detailed in the following Standards:
ASTM D4541 (BS 8539:2012)
Standard Test Method for Pull-Off Strength of Coatings Using Portable Adhesion Testers
ASTM D7234 (BS 7883:2019)
Standard Test Method for Pull-Off Adhesion Strength of Coatings on Concrete Using Portable Pull-Off Adhesion Testers
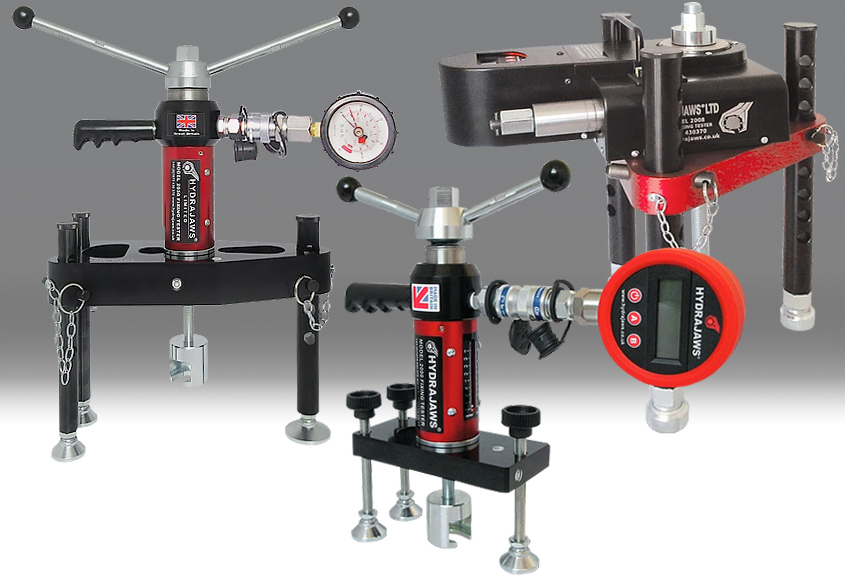
Click Here To View Our Selection of Pull Testers.


